Skip to content

1 Room Preparation
Before proceeding with the Turkish bath installation, it is necessary to adequately prepare the environment that will house the cabin and the steam generator.
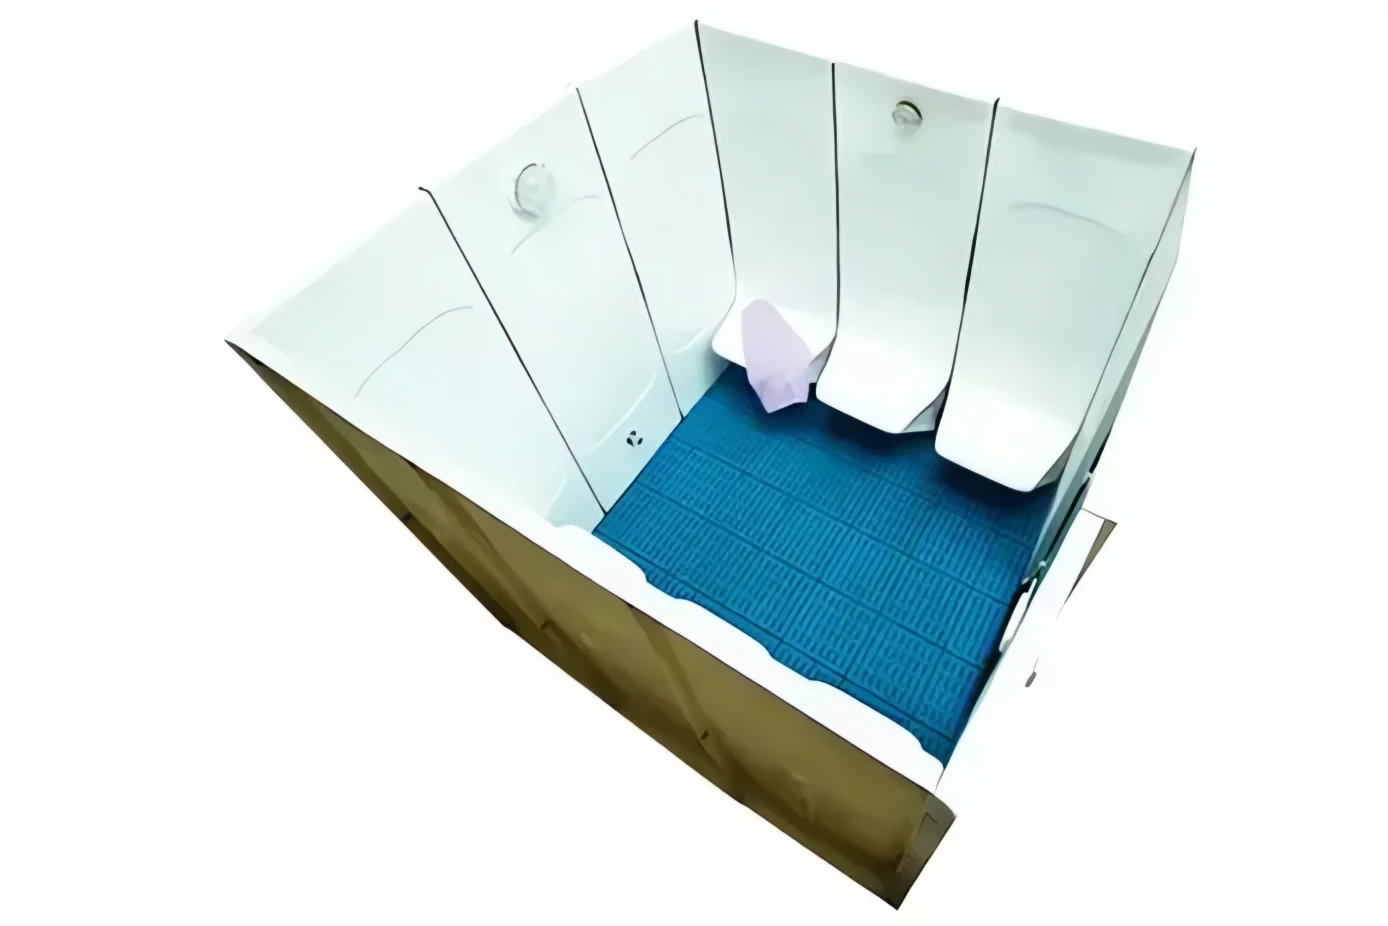
1.1 Cabin Space Requirements
| Requirement | Specification |
|---|---|
| Minimum surrounding space | 10 cm per side for assembly |
| Ceiling height | Minimum 220-230 cm |
| Floor | Flat, level, waterproof |
| Level tolerance | ±2 mm/meter |
| Recommended materials | Ceramic tiles, stoneware, resin |
| Waterproofing | Mandatory (humid environment) |
1.2 Generator Space Requirements
| Requirement | Specification |
|---|---|
| Position | Outside cabin, maximum 3 meters |
| Surrounding space | 15-20 cm on all sides |
| Environment | Dry, ventilated, frost-free |
| Accessibility | Easy access for maintenance |
| Installation height | Minimum 30 cm from floor |
| Prohibited | Outdoor installation (frost sensitive) |
WARNING: The generator must be installed in a utility room or service area, never inside the Turkish bath cabin or exposed outdoors.
1.3 Room Ventilation
For optimal operation, it is necessary to ensure:
- Natural or mechanical ventilation in the cabin room
- Humid air extraction after use
- Air exchange in the generator room
- Avoid condensation stagnation
1.4 Prohibited Environments for Generator Installation
DANGER: Do not install the generator in humid, wet, frozen environments, or where there are corrosive, flammable elements and fuels in general.
2 Electrical Requirements
WARNING: Electrical connection must be performed exclusively by a qualified electrician according to current regulations
2.1 Electrical Line Characteristics by Model
| Model | Power | Power Supply | Cable Section | Differential Circuit Breaker |
|---|---|---|---|---|
| BL-LT30 | 3 kW | 220-240V Single-phase | 3x4 mm² | 25 A, 30 mA |
| BL-LT45 (single) | 4.5 kW | 220-240V Single-phase | 3x4 mm² | 32 A, 30 mA |
| BL-LT45 (three-phase) | 4.5 kW | 380V Three-phase | 3x4 mm² | 16 A, 30 mA |
| BL-LT60 (single) | 6 kW | 220-240V Single-phase | 3x6 mm² | 40 A, 30 mA |
| BL-LT60 (three-phase) | 6 kW | 380V Three-phase | 5x4 mm² | 16 A, 30 mA |
| BL-LT90 | 9 kW | 380V Three-phase | 5x4 mm² | 16 A, 30 mA |
| BL-LT105 | 10.5 kW | 380V Three-phase | 5x4 mm² | 32 A, 30 mA |
2.2 Mandatory Requirements
- Copper cables with R2 class insulation (temperatures up to 80°C)
- Dedicated line with differential circuit breaker (safety switch)
- Efficient and certified grounding
- Compliance with regulations
- Do not use the generator as a power line distribution point
NOTE: All panels must be closed during operation. Always turn off power before maintenance or repairs.
3 Generator Electrical Connection
DANGER: Electrical installation must be performed by experienced and qualified personnel. The power supply must be turned off before installation, maintenance and repairs.
3.1 Single-phase Connections
For BL-LT30, BL-LT45, BL-LT60 single-phase models:
- L → Phase (brown or black wire)
- N → Neutral (blue wire)
- Ground → Grounding (yellow-green wire)
- J2 → Connector to control panel
- J3 → Power supply connector
3.2 Three-phase Connections
For BL-LT45, BL-LT60, BL-LT90, BL-LT105 three-phase models:
- L1 → Phase R (brown wire)
- L2 → Phase S (black wire)
- L3 → Phase T (gray wire)
- N → Neutral (blue wire)
- Ground → Grounding (yellow-green wire)
- J2 → Connector to control panel
- J3 → Power supply connector
3.3 Connection Procedure
- Install a cable gland of appropriate size for the cable
- Connect 3-wire cable (phase, neutral, ground) for single-phase systems
- Connect 5-wire cable (R, S, T, neutral, ground) for three-phase systems
- Connect to the indicated terminals following the diagram
- Firmly tighten all terminals
- Verify no contact between wires
- Close the connection panel
WARNING: Use only original spare parts. Any modification to the wiring voids warranty and safety certifications.
4 Hydraulic Connections
4.1 Piping Requirements
| Connection Type | Material | Diameter | Notes |
|---|---|---|---|
| Cold water inlet | Copper or certified flexible hose | 1/2 inch minimum | Max pressure 0.2 MPa (2 kg/cm²) |
| Steam pipe | Copper only | 1/2 inch minimum | Temperatures up to 150°C |
| Drain pipe | Copper | 1/2 inch minimum | Separate from cabin drain |
WARNING: Standard plastic pipes are prohibited. Only copper or materials certified for temperatures up to 150°C.
4.2 Water Inlet Connection
- Connect 1/2" flexible hose to the generator inlet valve
- Connect the other end to the cold water supply network
- Install shut-off valve upstream (for emergencies)
- If pressure exceeds 2 bar, install pressure reducer
- Slowly open the valve and check for leaks
- Clean connections before installation to remove debris
NOTE: Always use cold water. The generator has an integrated heating system.
WARNING: If the generator is installed in a hard-to-reach location, the water filling valve must be moved to an accessible point for emergencies.
4.3 Steam Outlet Connection
- Connect 1/2" copper pipe to the generator steam outlet
- Lay the pipe towards the cabin with a 3-4° downward slope
- Maximum length 3 meters (beyond 3 meters: thermal insulation mandatory)
- Minimize bends and elbows
- Position steam diffuser in cabin at 300 mm from floor
- Minimum distance 150 mm from seats
WARNING: Never install shut-off valves on the steam pipe. They would cause condensate accumulation and malfunctions.
4.4 Drain Connection
- Connect 1/2" copper pipe to the generator drain valve
- Convey the drain to the sewer network
- Keep drain separate from cabin drain (very hot water, burn risk)
- Provide anti-odor trap
- Minimum 2% slope towards drain
WARNING: The drain pipes must be conveyed to the drain separately from the Turkish bath cabin drain, to prevent possible burns due to high temperatures.
4.5 Connection Sealing
All hydraulic connections must be sealed to prevent steam leaks and protect the generator and users.
5 Control Panel Installation
5.1 Panel Positioning
- Always install outside the Turkish bath cabin
- Recommended height: 140-160 cm from floor
- Comfortable and accessible position for the user
- Avoid direct exposure to water jets
- Recess dimensions: 126x74 mm
5.2 Panel Connection
- Run the cable from the generator to the panel installation point
- Use the generator J2 connector
- Connect to the back of the LCD control panel
- Fix the panel in place with the supplied screws
- Verify that the display turns on correctly
NOTE: If the display shows "EE", the panel is not connected correctly. Check cable connection.
5.3 Panel Features
The LCD digital control panel displays temperature in a range between 6°C and 60°C. During Turkish bath heating, the symbol "SS" is shown.
| Button | Function | Details |
|---|---|---|
| ON/OFF | Power on/off | Automatic shutdown after 45 minutes |
| SET | Temperature setting | Range 35-55°C, default 43°C |
| TIME | Timer setting | Range 1-60 minutes |
| LIGHT | Lighting control | Cabin light on/off |
| UP/DOWN | Value adjustment | Increase/decrease temperature and time |
6 First Commissioning
6.1 Pre-Start Checks
- Verify that all electrical connections are correct and tight
- Check that all hydraulic connections are complete and leak-free
- Verify that the steam pipe is laid correctly with slope
- Check that the water inlet valve is open
- Verify that the drain is clear
- Remove any plastic protections from the generator
- Check that all generator panels are closed
6.2 First Start Procedure
- Power the generator by activating the main switch
- Verify that the LCD panel turns on
- Press ON/OFF to start the cycle
- The display will show the filling process
- Wait for filling completion (max timeout 10 minutes)
- The display will show "SS" during heating
- Verify steam outlet from the diffuser in the cabin
- Check temperature with cabin sensor
- Verify absence of steam or water leaks
- Let it run for a complete cycle (30 minutes)
- At the end, the system will perform automatic drainage (display "d")
WARNING: During first start, carefully check all connections to verify absence of leaks. Do not leave the system unattended.
6.3 Automatic Functions
| Function | Description | Display |
|---|---|---|
| Automatic filling | The water inlet valve opens automatically to fill the generator to maximum level. 10-minute timeout | Normal |
| Automatic section heating | The generator automatically determines how many heating elements to use based on detected temperatures | SS |
| Automatic drainage | The system drains the condensate and fills the boiler with fresh water to wash and cool the heating elements | d / dd / -d |
| Automatic shutdown | The system automatically goes to OFF after 45 minutes (maximum session duration) | -d then OFF |
6.4 Error Code Verification
| Display Code | Meaning | Action |
|---|---|---|
| SS | Heating in progress | Normal - wait |
| d / dd | Drainage in progress | Normal - do not turn off |
| -d | Drainage completed | Normal - automatic shutdown |
| -E | Water shortage | Check valve open, reset with OFF/ON |
| EE | Panel disconnected | Check connection cable J2 |
| -L | Temperature too low (below 6°C) | Check temperature sensor |
| -H | Overheating (above 60°C) | Check sensor, contact support |
6.5 Important Recommendations for the Customer
WARNING: Never interrupt the automatic drainage cycle. It is essential for generator durability.
NOTE: With hard water, it is recommended to install a water softener upstream of the generator to prevent lime scale buildup on heating elements.
Can’t find the problem?